How to Draw a Bear
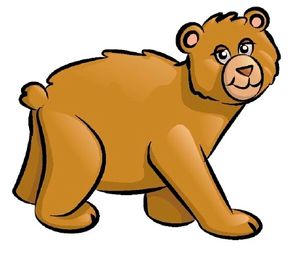
Drawing this friendly brown bear is a great way to improve your drawing skills.
In this section, we’ll show you how to draw the above bear. Either draw it freehand while looking at your computer monitor or print out this page to get a closer look at each step.
Advertisement
Follow the red lines in each illustration to learn exactly what to draw in that step. The lines drawn in previous steps are shown in gray. We’ll show you an illustration of each step and then give you a description of how to draw it.

Step 1: Sketch an oval for the body. Add a circle for the head and three ovals or circles for the ears and snout.
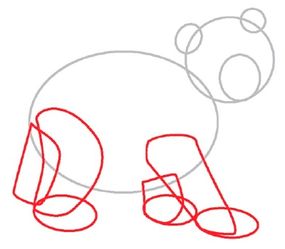
Step 2: Draw the leg shapes, and follow them with ovals for the paws.
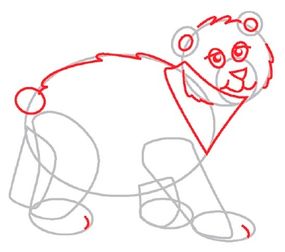
Step 3: Add lines for the neck to connect the head to the rest of the body. Draw ovals and circles for the eyes and pupils, lines for the eyelids, and ovals for the details inside the ears. Add one more oval for the tail. Inside the snout, draw a triangle nose. Add some curved lines for the mouth. Finish sketching by adding hair details on the back and head and details on the toes.
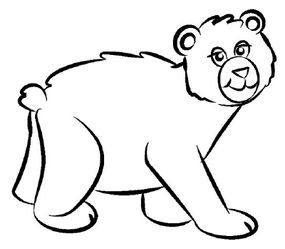
Step 4: Trace the pencil lines you want to keep with a felt-tip pen, and erase any extra lines.
Now that your bear drawing is finished, bring it to life by coloring it. Next, we'll show you how to draw an animal that loves the water. Continue to the next page to get step-by-step instructions for drawing a duck.